Product and soap photos

Soapmaking Forum

Help Support Soapmaking Forum:

This site may earn a commission from merchant affiliate links, including eBay, Amazon, and others.

Chris_S

Well-Known Member
Joined
Aug 27, 2018
Messages
754
Reaction score
658
Location
Wigan, England
Ok so im toying with the idea of starting an instergram account and currently have a fb group that for personal reasons is a closed group at least for the time being that may change at the end of the month.

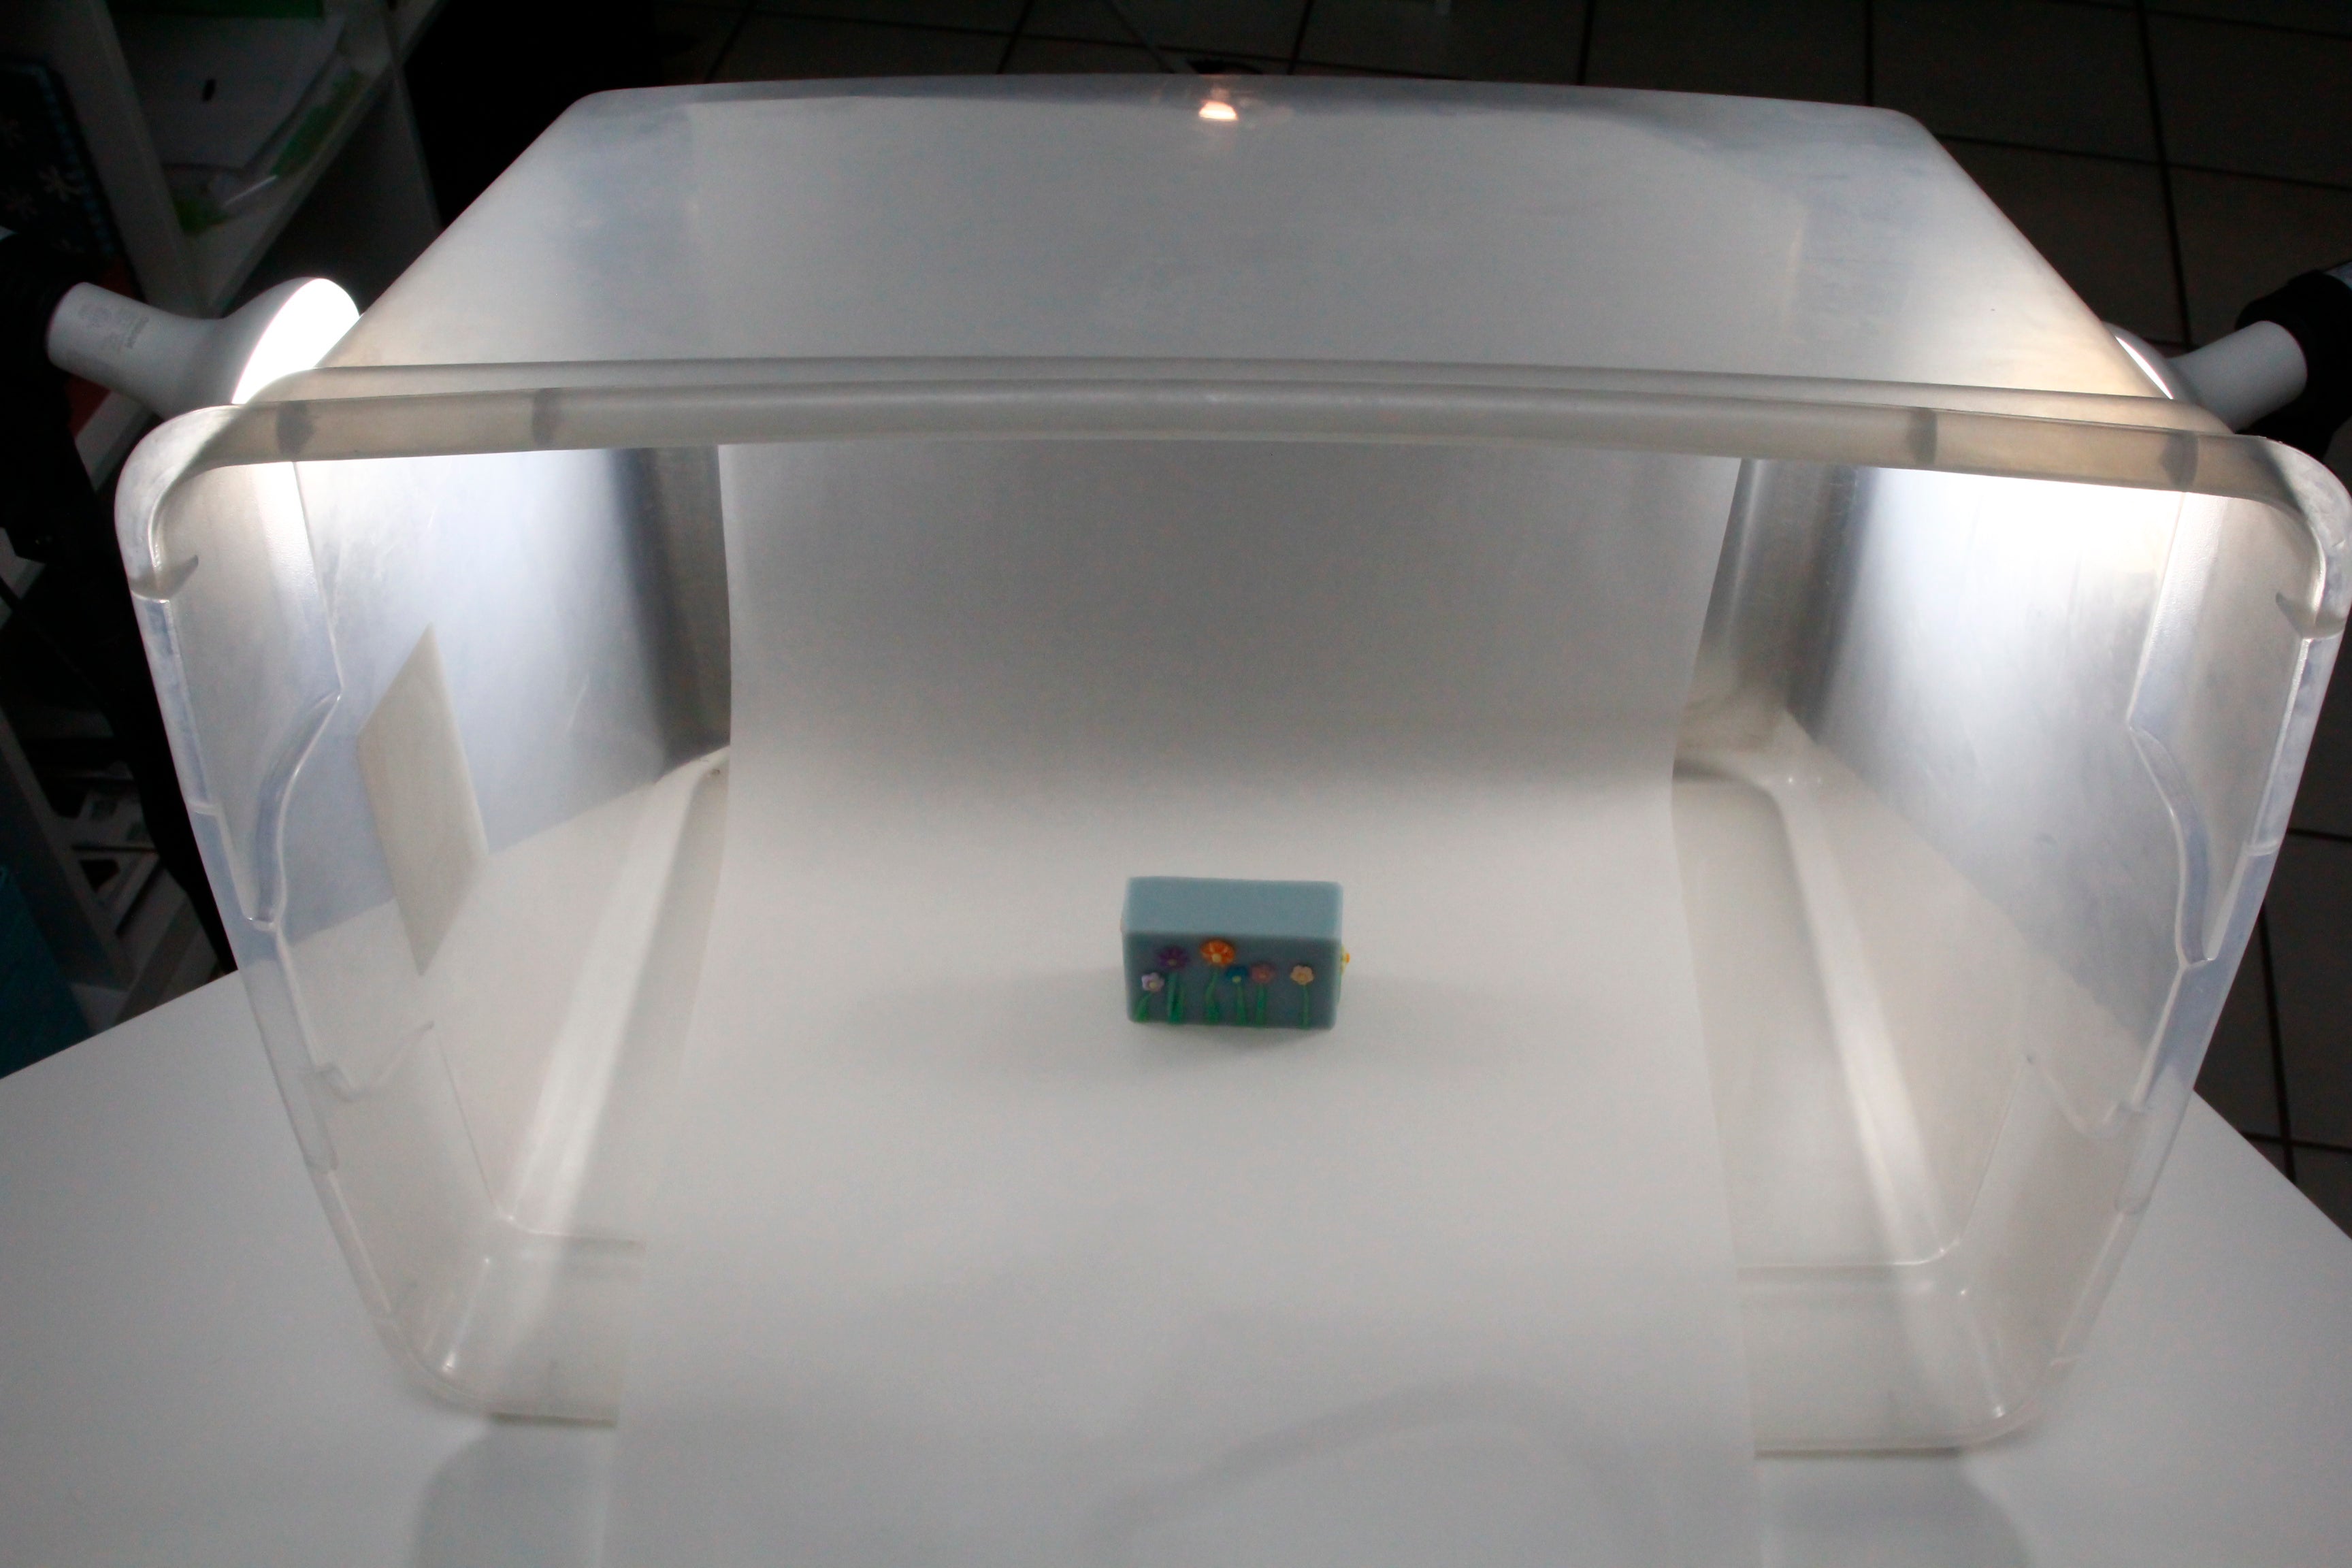
Iv seen so many lovely looking and such professional type photos of soaps ect regardless of if the person is selling they still look just fabulously awesome far better than iv yet been able to achieve.

My question is how do people achieve such professional looking photos? Do you take a table outside and lay them on a nice table cloth or plate ect. Do you always add more that one soap from a batch to show the difference due to a swirl? Do you add the soap fragrance to a typed out name tag? Or anything else that may help would be great

Im just looking for ideas of how to take a better photo of my soaps when you want them to look thier best. Any ideas more than welcome.

I have a good quality dlsr camera so I have something better than just a phone. Thanks in advanced :)
 
@KiwiMoose takes beautiful photos, and she might be able to give you some pointers. Generally, natural light is good when possible but don't set the soaps in direct sunlight. Use a fairly neutral background so the soap remains the focus of the picture. Take lots of photos with different settings on your camera (if you know how to do that), and in different areas to see what works best on any given day. Don't clutter up the picture with a lot of props. Either one soap or several is fine I think. Look at the hashtags other soap makers are using for ideas. It isn't hard to make your own light box - lots of YouTube videos, and I thing there are some threads on this forum if you do a search. Here's just one https://www.soapmakingforum.com/threads/diy-collapsable-light-box.62724/
 
@KiwiMoose takes beautiful photos, and she might be able to give you some pointers. Generally, natural light is good when possible but don't set the soaps in direct sunlight. Use a fairly neutral background so the soap remains the focus of the picture. Take lots of photos with different settings on your camera (if you know how to do that), and in different areas to see what works best on any given day. Don't clutter up the picture with a lot of props. Either one soap or several is fine I think. Look at the hashtags other soap makers are using for ideas. It isn't hard to make your own light box - lots of YouTube videos, and I thing there are some threads on this forum if you do a search. Here's just one https://www.soapmakingforum.com/threads/diy-collapsable-light-box.62724/

Thank you for the info, yes i have noticed a few of kiwi mooses photos are on a wooden bench and a kinda oblong platter which looks amazing. I do love the combination of wood and pottery that she gets. My main issue is that we have some truely grim weather in this part of england and would be great if i could take them in natural light but need a good alternative when this isnt possible which is the majority of the time.

I know how to change the settings just i dont fully understand what they all do lol i inherited it from my dad who got a better camera so he gave me his lesser but still very good quality dslr.

I think your idea of try lots of ways is going to be my first step but more ideas would be great too if it doesnt help me it could help someone else and thats the great thing about this forum theres so many variations and opinions :)
 
If it helps, I take most of my photos inside since winter here doesn't really leave a choice. Our house has some large windows, but they face North and East and our lot is wooded, so there is limited time when the light is good. A light box isn't hard to make, and it works quite well.
 
If it helps, I take most of my photos inside since winter here doesn't really leave a choice. Our house has some large windows, but they face North and East and our lot is wooded, so there is limited time when the light is good. A light box isn't hard to make, and it works quite well.

I somehow missed that suggestion. Ill look into that too thanks. Even summer here doesnt always provide the weather needed to do something like kiwi moose seems to have perfected.
 
If it's Instagram do a search on cold process soap or handmade soap.. There's several I follow and I noticed a few things. These aren't so much help with actually taking the photo though...

The flatlay style seems to be trending. The picture is taken directly above and in some cases, more than just soap is featured. Could be an ingredient, or a mold, spatulas, etc. Example:
_20190316_000838.JPG
A lot of them post multiple pics of one soap on different days. First is raw soap just molded with a pretty top. Then there's loaves (some skip this). Then cut soaps. There's a "wet soap" day where they take close ups of the swirls they've done on the tops. Like these:
_20190316_002655.JPG
_20190316_002709.JPG
_20190316_002729.JPG
A lot of times it's multiple soap bars. If it's not flatlay then the soap is stacked on top of each other so we see pretty tops and also the inside swirls.
_20190316_000915.JPG
There's always a multitude of tags. Here are the tags from two of the posts above:
_20190316_000854.JPG
_20190316_000933.JPG
There's tons of inspiration in the browsing soap pics thread too..
 
Love your research @Dawni.

Yes - we are lucky here at present that it is summer and I can photograph outside. When you do - make sure as @dibbles says that it's not in full bright sunlight. The best time is at the beginning or end of the day when the light is low.
Alternatively you can opt for inside, but just inside a large window to use the natural light. You need to make sure you take the photo with the natural light behind YOU, and not your product so they are not cast as a silhouette.
With your DSLR in manual mode - I would try setting the ISO to about 400, 800 or even higher if you are inside. Make your f-stop around 6 - 8 so that your product is in focus but your background is blurred. Your shutter speed might be quite slow depending on the amount of light - but just make sure your little guide in the viewfinder is in the middle ( so that your photo is not too dark or too light). Leave the autofocus on.
Then just play around with different settings - sit the soap up, lay it down, put it in a soap dish, put some flowers near it, or herbs or fruit - or nothing but soap!
Good luck!

Thank you thats EXACTLY what i was hoping for. Thank you for all the other help given too :)
 
If it's Instagram do a search on cold process soap or handmade soap.. There's several I follow and I noticed a few things. These aren't so much help with actually taking the photo though...

The flatlay style seems to be trending. The picture is taken directly above and in some cases, more than just soap is featured. Could be an ingredient, or a mold, spatulas, etc. Example:
View attachment 37516
A lot of them post multiple pics of one soap on different days. First is raw soap just molded with a pretty top. Then there's loaves (some skip this). Then cut soaps. There's a "wet soap" day where they take close ups of the swirls they've done on the tops. Like these:
View attachment 37520
View attachment 37519
View attachment 37521
A lot of times it's multiple soap bars. If it's not flatlay then the soap is stacked on top of each other so we see pretty tops and also the inside swirls.
View attachment 37518
There's always a multitude of tags. Here are the tags from two of the posts above:
View attachment 37515
View attachment 37517
There's tons of inspiration in the browsing soap pics thread too..
Gorgeous!!!

I use barnwood if photographing outside, and only in the morning or early evening to avoid direct sunlight. For the white backdrop, I made a “photo booth” cutting out the sides and top off an old box and replace with tissue paper. Use a white poster board as the backdrop and place lights around and on top. The tissue paper filters the light. There are much easier pop up booths on Amazon and eBay that come with everything, but I’m on a budget! After I take the pictures I photoshop or face tune any unwanted shadows.
 

Attachments

  • 9E793683-B435-428A-B3DE-73FF026E9C9B.jpeg
    9E793683-B435-428A-B3DE-73FF026E9C9B.jpeg
    94.9 KB · Views: 33
  • 3B8D67CB-065F-47CC-B9F4-DEAA0766DBBE.jpeg
    3B8D67CB-065F-47CC-B9F4-DEAA0766DBBE.jpeg
    115.3 KB · Views: 32
  • C3C48AF8-A545-468C-88F7-4202F73096C9.jpeg
    C3C48AF8-A545-468C-88F7-4202F73096C9.jpeg
    58 KB · Views: 30
Last edited by a moderator:
I use a light box when I can't take the photos outside. I bought mine many years ago from Orange Monkie but I think that there are many on the market or you can make your own. After taking a bunch of photos I review them on my computer and pick the ones I want to use. If they need editing I will most likely use Adobe Elements on the computer and then tiny png to compress them.
 

Awesome thank you. Iv been looking at some on amazon this morning and for some reason i was surprised that the are plastic, is yours plastic? i thought they would be a frame then a fabric like a tent i guess but the cheaper ones at least dont seem to be like this at all. Quite a few reviews giving them good rating. Have you got any photos you have taken of soap in your light box that you could post please. Tempted by one but honestly not convinced yet. thanks
 
@Chris_S - Yes, mine is plastic. I think it was cmzaha that recommended it (won't swear to it). I haven't played with it much but with a little staging it will work great.

Awesome thanks think ill give it a punt at under 15 quid gotta be worth a try and this one comes with different coloured backgrounds to use aswell.
 
@Chris_S - Yes, mine is plastic. I think it was cmzaha that recommended it (won't swear to it). I haven't played with it much but with a little staging it will work great.

Just ordered one Its arriving tomorrow and ill no doubt be like a little kid at Christmas so ill make sure I post some pics using it
 
I've found this to help tremendously when the sunlight won't behave. This is one of my hacks, I've hacked from someone else.
The paper is baking parchment, the lights I happen to have the scruffy storage box, is well... well used.
but I'll say this, I've taken a few photos and this has just changed things for the better. I have also purchased some light boxes and they were a waste of money. A lesson learned that good work isn't always about spending more money. I love my new light box!

LightBox.jpg


This is the photo I took with this very set up.
 
That's just awesome! I'm a fan of your soap creations btw. Now I have to go see if I have empty containers.....
 
Interesting way of doing it my reasoning was that given how cheap the light box was it wouldnt be much more than making my own and its much more compact than a big box like that im tight on space as it is at hope. Its arriving today ill give it a few months of testing and if its no good ill try something out like you have done there. Thank you for the pictures and input :) My dad used to teach photography and years ago had an exhibition with his photos so he knows a thing or 2 hes tried to explain how to use a dslr to it full potential but it went in one ear n out the other most the time
 
Interesting way of doing it my reasoning was that given how cheap the light box was it wouldnt be much more than making my own and its much more compact than a big box like that im tight on space as it is at hope. Its arriving today ill give it a few months of testing and if its no good ill try something out like you have done there. Thank you for the pictures and input :) My dad used to teach photography and years ago had an exhibition with his photos so he knows a thing or 2 hes tried to explain how to use a dslr to it full potential but it went in one ear n out the other most the time

Oh my gosh this made me chuckle! I've been a photographer for years (won't give you my resume, but I've done a LOT of stuff) and it took years to understand fstops etc. I might have a strong eye, but my technical abilities are limited. Sort of like, I can create a website, but don't know how it all works, and I can code! Weirdness. When I try to think like that, ISO, f-stop, etc. well... All creativity goes out the window. I learn backwards, always, with everything. I study light now and figure out what I have to do to achieve the light.

Best of luck with your new light box. I didn't mean to dismiss your new purchase, at all! I hope you don't have to use this hack. Love to see what you create with it. :D
 
DSLRs have a lot of features! I'm in the US, but see if Ken Rockwell has made a user guide for your camera:
https://www.kenrockwell.com/

You also may want to see if you can find some free tutorials on product photography.

When you've tried out some of those, see if you can find a photography class. Check colleges/universities. I took some at my local botanical gardens. The most useful was Learning your Nikon DSLR.
 

Latest posts

Back
Top